How to paint wooden windows and door frames?
The fluctuating weather patterns in the UK exert pressure on the exterior paint of sash windows and doors.
Therefore, it’s vital to maintain the integrity of the woodwork by frequently applying paint to sash window frames, ensuring they stay in prime condition. If your sash windows are suffering from rot and need restoration or a double-glazing, don’t hesitate to reach out to our Traditional Sash Window Repairs team.
When planning to paint your doors and frames, always consider the current weather conditions. It’s best to avoid painting under direct sunlight.
Similarly, refrain from painting windows if it’s raining or there’s a chance of rain in the near forecast.
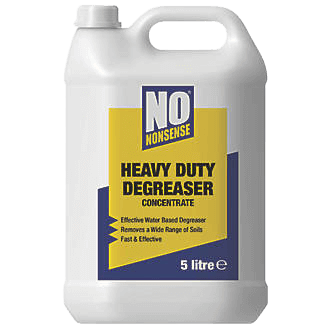
Step 1 – Clean and degrease the frames
Repainting exterior doors and sash windows necessitates meticulous preparation.
To start, a thorough cleaning is essential. Begin by wiping the frame thoroughly using a damp cloth to remove dust, dirt, and minor stains. This will not only clean the surface but also create a smoother base for the paint to adhere to.
Once this initial cleaning step is complete, it’s crucial to follow it up with a degreasing step. Using a specially-formulated degreaser, repeat the wiping process. This will remove any oil or grime that could potentially compromise the adhesion and finish of the paint.
Taking the time to properly prep your doors and windows will ensure a more professional and long-lasting result, maintaining the beauty and integrity of your home’s exterior. So, remember, a successful paint job is all in the preparation.
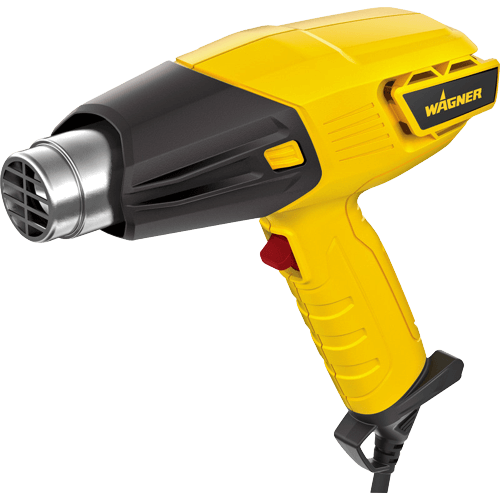
Step 2 – Removing flaking paint
The removal of old paint can be effectively accomplished using several tools. These may include a heat gun, which works by softening the paint to make scraping off easier; a paint scraper, which is a manual tool used to physically peel away the paint; a sander, often used to smooth out rough surfaces and also remove residual paint; or a chemical paint stripper, which is formulated to break down the paint, allowing for easy removal.
It’s important to note that each method has its own pros and cons, and the choice of tool can depend on the condition of the paint, the nature of the surface, and personal safety and environmental considerations. Always remember to protect yourself with the appropriate safety gear, such as gloves and eye protection, when undertaking such tasks.
A heat gun presents a highly effective option for do-it-yourself enthusiasts, greatly simplifying the task at hand. It also minimizes the potential for any inadvertent damage to the wood during the paint removal process. Moreover, from a cost perspective, investing in a heat gun can be more economical compared to purchasing a high-end orbital sander and dust extractor. The accessibility and affordability of a heat gun make it a favored choice among DIYers for home restoration projects like this.
Step 3 – Sanding the woodwork
The next step involves sanding down the entire frame. Make use of a sanding block, preferably with 120-grit paper, to create as smooth a surface as possible. This process helps to remove any lingering paint and to level out any irregularities, ensuring a clean, even surface for new paint to adhere to.
After the sanding process, be sure to thoroughly clean the frame. Use a soft brush to sweep away any residual dust and particles, then follow up with a damp cloth to capture any remaining dust. This meticulous cleaning step is crucial for achieving the best possible finish when you’re ready to apply fresh paint.
Pro Tip!
To accelerate your progress, consider using a palm sander.
This compact, handheld power tool can significantly expedite the sanding process, saving time and effort while delivering a consistently smooth finish across the entire frame.
Remember, the key to a flawless paint job lies in a well-prepared surface. can also use a palm sander to speed up your work.

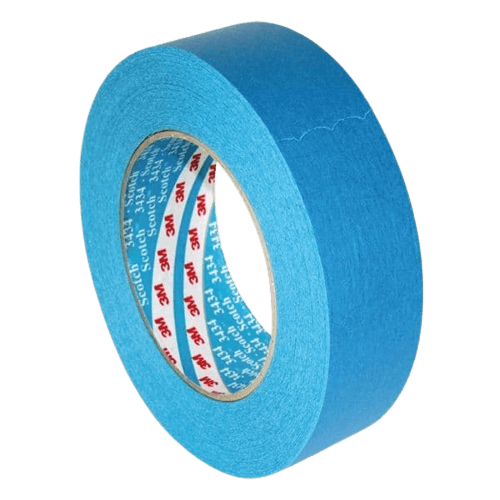
Step 4 – Apply masking tape
To safeguard your glass from any unwanted paint splatters or strokes, apply blue painter’s tape around its perimeter. This tape is specially designed for this type of job, as it can be removed easily without leaving any residue or damage.
For a precise application, use a sharp utility knife to trim the tape along the edges adjacent to the frame. This meticulous taping step is crucial to achieving a neat and professional paint job on your sash windows.
Remember, it’s advisable not to leave the masking tape on the glass for more than two days. If you exceed this timeframe, the tape could become challenging to peel off, or it might leave adhesive residue on the glass. Timely removal of the tape ensures a cleaner, neater finish and avoids unnecessary cleanup later.
Step 5 – Apply primer
Begin the painting process by applying a coat of primer to the wooden frame using a round brush. This primer layer plays a critical role, enhancing the adherence of the topcoat and ensuring a smoother, more uniform application of the final paint.
Furthermore, the use of primer augments the durability of the end result, leading to a longer-lasting finish. This not only makes your windows look great for a more extended period but also lessens the need for frequent repainting, saving you both time and resources in the long run.
Step 6 – Removing unevenness
Once the primer has dried, address any uneven areas with quick-fill plaster. Apply this in thin 1 mm layers, which will help to prevent the plaster from shrinking as it dries.
For the plaster application, you’ll need both a narrow and a wide knife. Place a small amount of plaster on the wider knife and use the narrow one to apply it to the areas in need. It’s important to ensure that your plaster knives are clean and in good condition for the best results.
Position your plaster knife perpendicular to the surface of the frame, smoothly applying the plaster over any inconsistencies. Be careful to confine the plaster to the areas requiring filling, preventing it from overflowing onto the rest of the frame.
Patience is key in this process. Allow each layer of plaster to dry fully before proceeding with the next one. This ensures the plaster sets properly, providing a smooth, solid surface for the next stage of your restoration work.
Step 7 – Repainting the frames
Next, apply an additional coat of primer to the areas you’ve just plastered, ensuring to allow this layer to dry fully. This double-coating strategy creates a more robust foundation for the final paint application.
Following this, gently sand the frame using fine-grit (320) sandpaper. This process helps to create an ultra-smooth surface, improving the adherence and finish of the final paint coat.
Once you’ve finished sanding, use a brush and a damp cloth to thoroughly remove any dust or debris. This step is essential in preparing for a flawless paint job on your sash window frame.
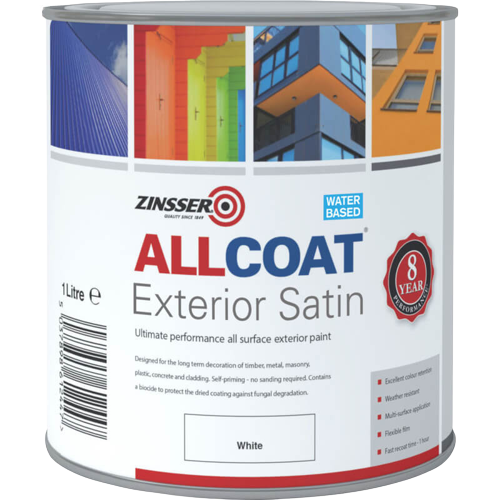
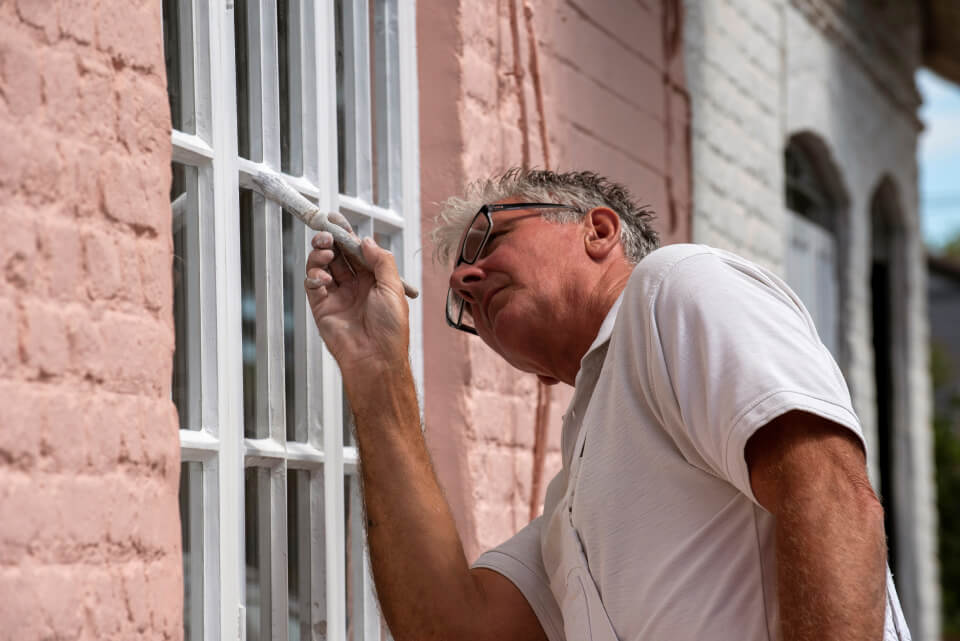
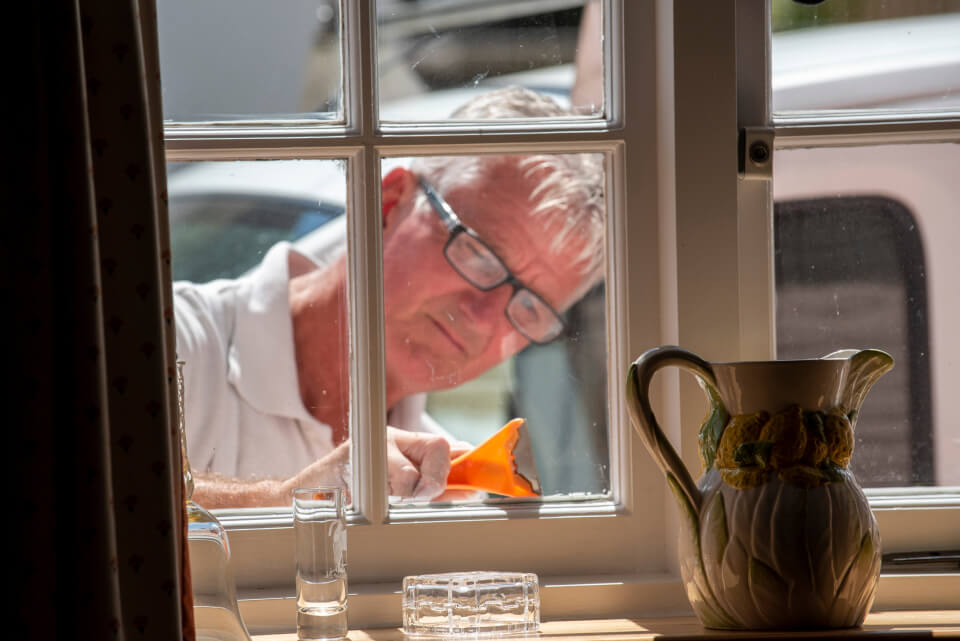
Step 8 – Painting the woodwork
Before you start painting, ensure the paint is well-mixed and at a suitable temperature – if you’re starting in the chilly morning, you might want to allow it to warm slightly.
When you’re ready to begin, immerse the brush into the paint several times, wiping it against the edge of the container each time until it’s fully loaded with paint, but not to the point of dripping.
Start applying the first coat of paint with a round lacquer brush, tackling the corners and edges of the windows first. This method ensures a uniform, neat finish around these potentially tricky areas.
Next, move on to the larger sections of the frame. Apply the paint in long, sweeping strokes that follow the length of the frame. This technique helps to ensure a smooth, streak-free finish.
For larger surface areas, such as wooden shutters, switch to a 10 cm paint roller. This tool will cover large areas more quickly and evenly, saving you time and ensuring a professional-looking result.
To achieve an optimal finish, it’s a good idea to go over the freshly painted surface with a narrow paint roller. This simple step aids in evenly distributing the paint, smoothing out any potential inconsistencies or brush strokes, thereby giving your windows a polished, professional look.
To ensure maximum coverage and a more durable finish, it is recommended to apply at least two coats of paint. This will provide better color consistency, enhance the overall appearance, and improve the longevity of the paint job. Allow each coat to dry completely before applying the next one, following the manufacturer’s recommended drying time. Applying multiple coats will help achieve a more vibrant and long-lasting result for your sash window frames.