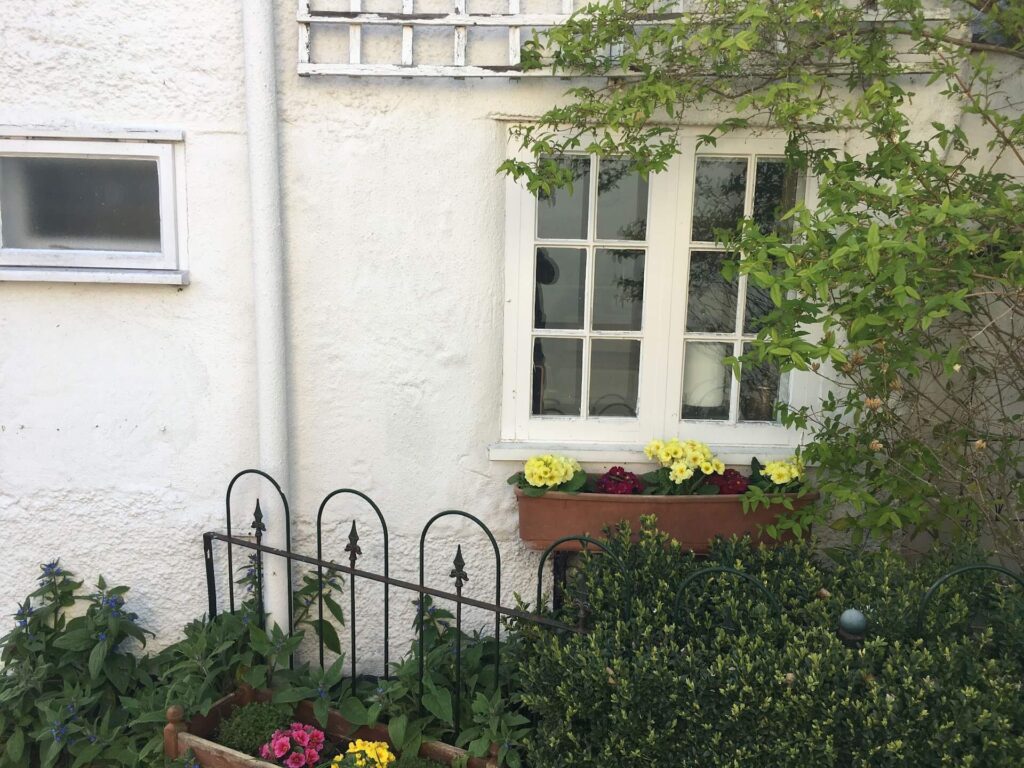
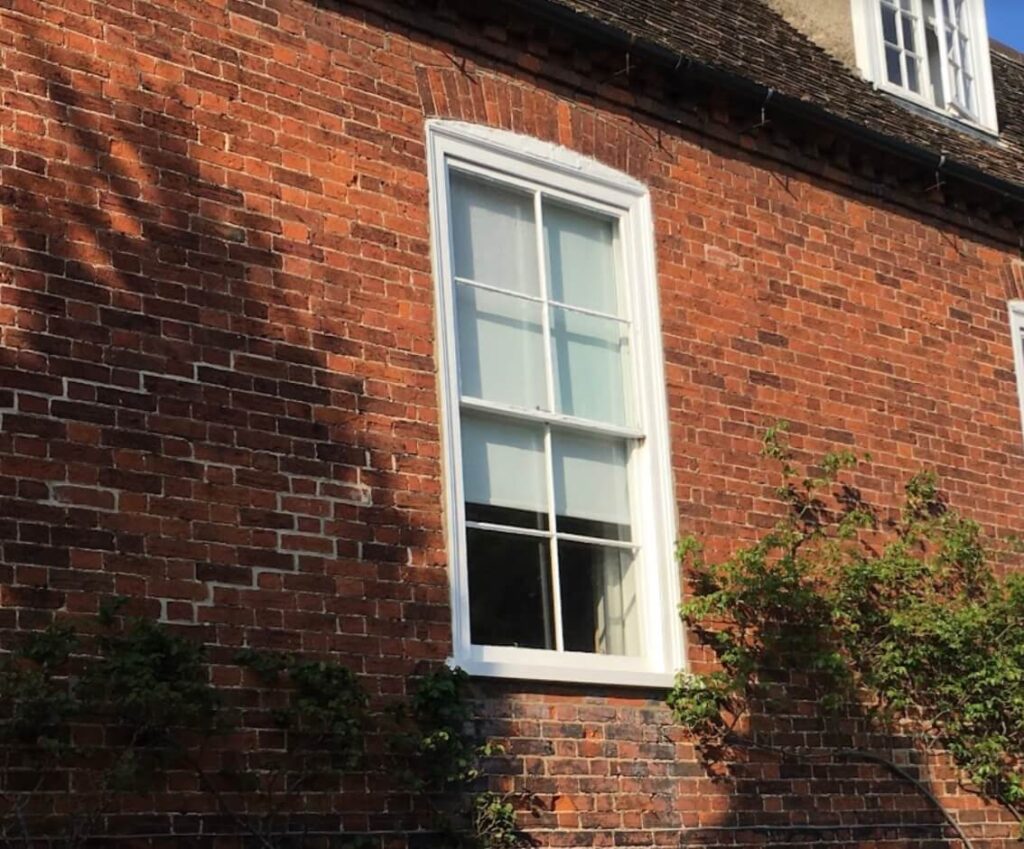
Replace or restore rotten sash windows?
Decayed sash window frames and chipping paint can certainly be an eyesore. However, it’s frequently possible to rescue these aged timber windows from being replaced.
Simply follow our brief guide on repairing decayed windows.
Fixing decayed windows can frequently be more challenging than it first appears. If the core structure of the window frame still contains sturdy wood, there’s a strong likelihood that the remaining parts can be salvaged.

Step 1 – Detecting rotten spots
Identifying decayed wood can be a tricky task, particularly when it’s hiding beneath a layer of paint. Yet, wood decay can gradually wear away the material below the surface. The simplest initial method to look for decay is by pressing into the wood.
If the wood yields easily under pressure – there’s a good chance decay has set in beneath the paint layer. Even if the paint hasn’t started flaking off yet, it’s time to consider a repair job. For stained wood, another indicator of rot is a darkened color in the affected zones.
If you’re uncertain or keen to assess the depth of decay within the window frame, try probing the wood with a thin putty knife or even a pen. If these tools penetrate with little resistance, the wood is decayed, and immediate restoration should be commenced.
The lower sections of the window frame are more prone to decay, as they consistently come in contact with moisture. So, start your inspection from these areas.
Step 2 – Can rotten windows be repaired?
Firstly, you need to evaluate the severity of the decay and the viability of your repair strategy. If the windows are excessively decayed, you may have no choice but to replace them entirely.
To accomplish this, you’ll need to remove all decayed wood to ascertain the extent of repairable damage. Any areas where the rot has fully penetrated will crumble easily in your hands. Following this, you’ll need to clear out the remaining decay – use coarse-grit sandpaper or a wire brush to eliminate all decayed wood, brushing away any dust particles and old paint flakes.
Is the leftover wood still structurally reliable, despite some possible damage? If we’re talking about a window frame, for instance, is it robust enough to support the window glass? If the answer is affirmative, proceed with repairing the wood. Conversely, if the answer is negative, it might be time to replace the wooden window.
Step 3 – Remove rot
After determining that the wood is salvageable, you should continue sanding – delving about a centimetre deeper than the impacted area – to thoroughly eliminate any residual decay. Before applying wood filler, ensure the wood is completely dry. (If you’re pressed for time, a hairdryer can expedite the drying process).
If the remaining wood has previously been painted or stained, it’s sensible to sand it all down, as you’ll need to repaint or re-stain the wood regardless.

Step 4 – Wood filler or DryFlex
The subsequent step in the restoration process involves applying wood filler.
Selecting the appropriate wood filler largely depends on the degree of decay in the wood you aim to mend. If the damaged areas are quite small – approximately the size of a nail head – a regular wood putty should suffice. If the damage is more extensive, you’ll require a heavy-duty two-part epoxy wood filler.
Regardless of the type of filler you’re using, employ a putty knife to mould it into the shape of the wood cavity you’re filling. This is arguably the most critical stage in any wood repair work – ensure the wood filler is thoroughly cured and sits slightly above the level of the wood, as this area will need to be sanded down later.
Step 5 – Sanding and Painting the Restored Windows
The final step of the timber windows renovation process is to safeguard the repaired wood to deter further decay.
Begin by sanding the filled area down to match the level of the surrounding wood, initially using medium-grit sandpaper, then transitioning to fine-grit sandpaper.
Once the filled area is sanded flush with the rest of the wood, it’s time to prime and paint or stain the window.
The sanded area should feel smooth to the touch and mimic the appearance of natural wood. Clear the area of dust and treat it like any other wooden surface – first apply a wood preservative, particularly if it’s the exterior side of the window, then layer on several coats of stain or primer, followed by a top coat of paint.